Painting Larry
After tackling the rust, Debbie decides to treat Larry to some new paint
When I first bought Larry, it was safe to say that I have never painted a car before. In a previous life, I was a miniature painter – this is something I still enjoy, and I am happy to talk Warhammer painting to anyone who will listen, but that’s for another blog entirely.
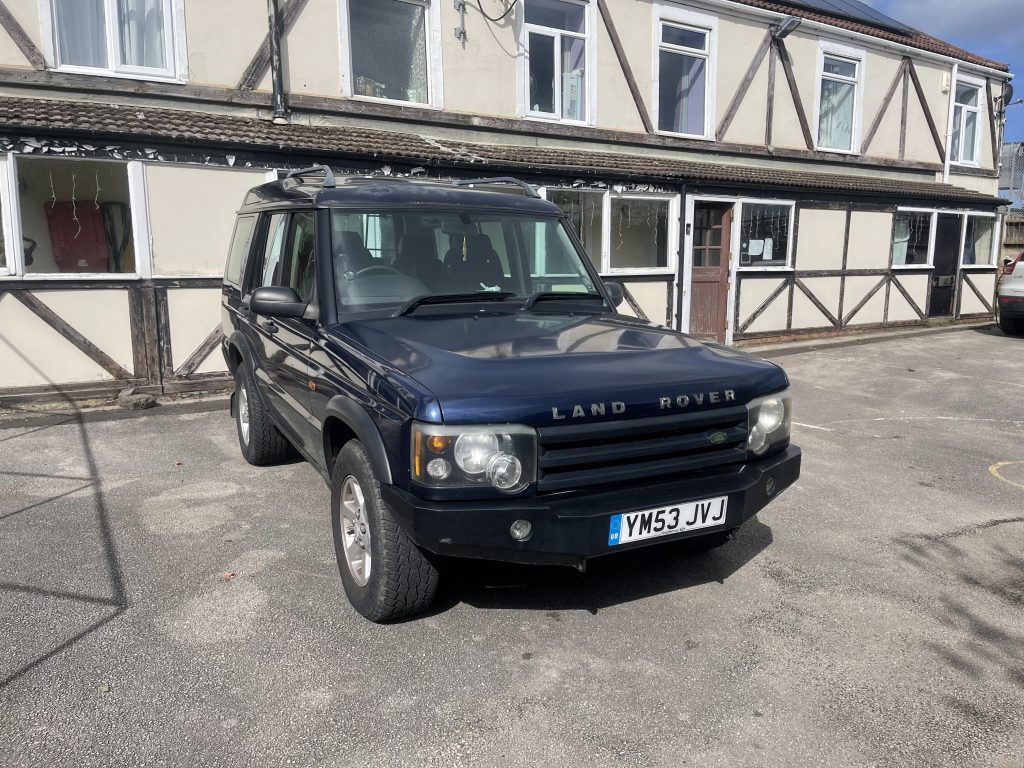
Overall, Larry was in good shape when I got him. There were a few bits that needed doing, which I got sorted out. At this stage, all I knew about cars was they had four wheels and an engine. I had a long way to go before I got to where I am now back then. One thing I knew I could do was clean him up.
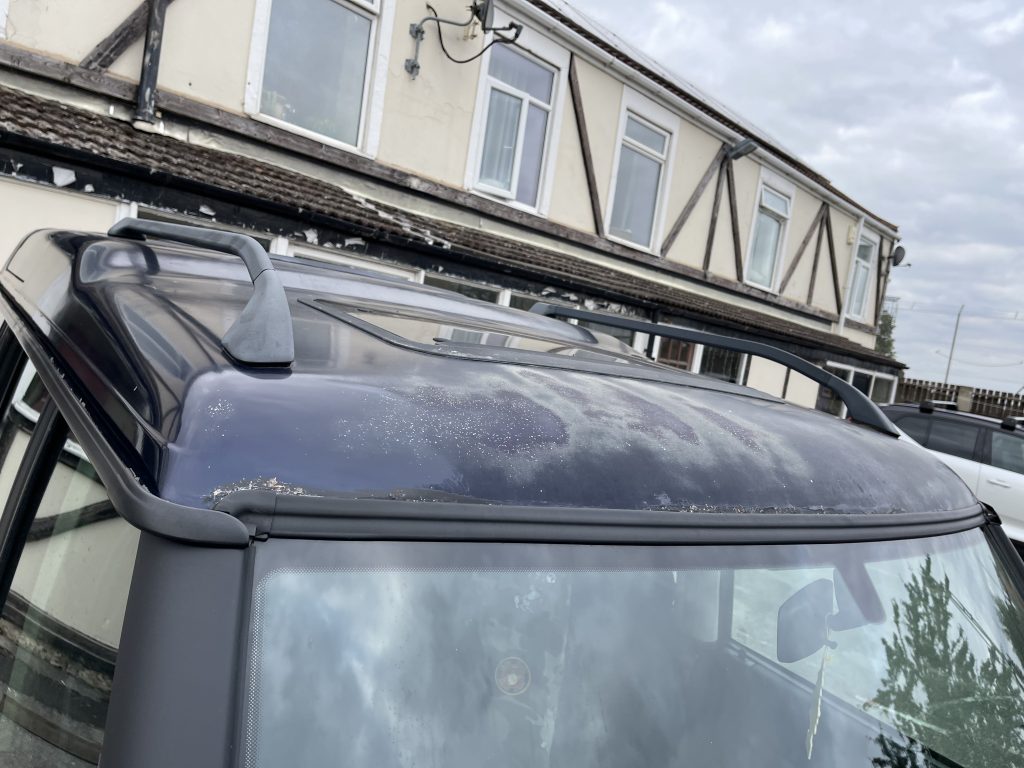
It took a bit of doing, but after some amount of snow foam and liberal applications of elbow grease, I managed to get his paintwork looking a lot better than it was. Only problem area was above the windscreen.
Someone had attempted to clean that area up before, without removing the existing paint or filling in the pitting that had begun to show on the top of the windscreen. It seemed prudent to get that job done before it got any worse, so out came the sanding paper and the elbow grease and off I went.
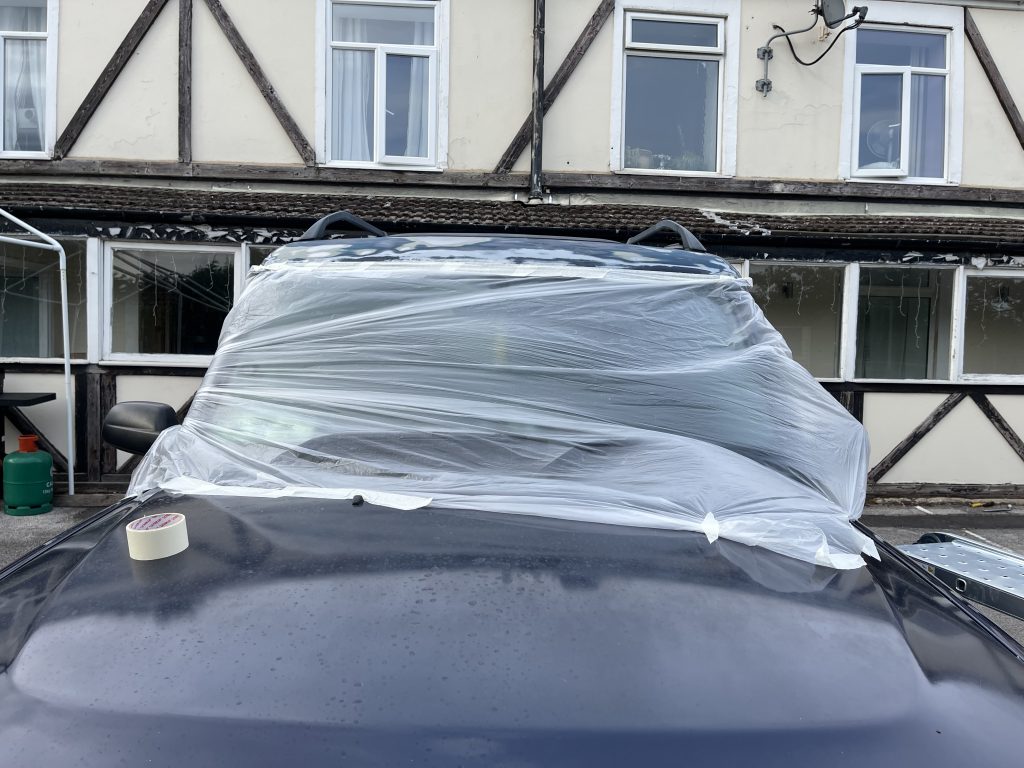
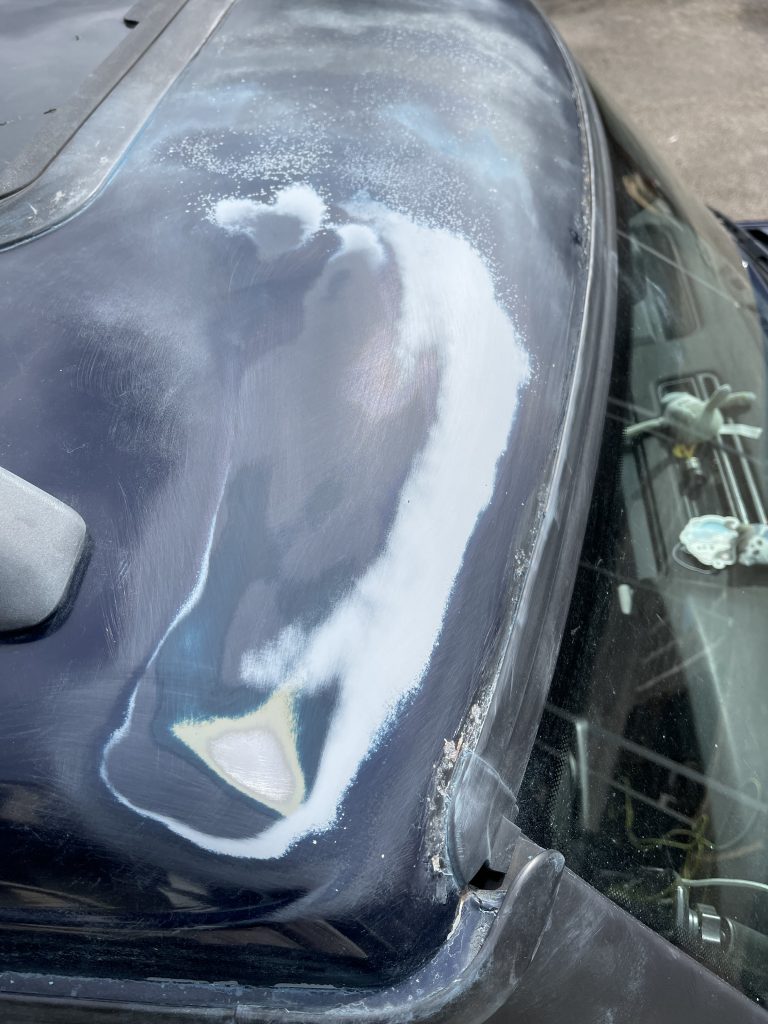
Standing on the bonnet, I used a relatively fine grain of sand paper to remove what had already been done. It took a while and it made a hell of a mess. The paint turned into the finest of dust and the wind took care of the rest. For those of you who don’t know, I do not own a garage, and I do not have access to one, so all my work has to be done in my yard. I am very much at the mercy of the weather.
That said, I did make use of the sunny summer day to get the work done. Once I was happy with the sanding, I mixed up some filler and dealt with the little rust holes. It was interesting stuff to work with, considering how quickly it dried up, but I got there in the end with it. The filled holes did not look too out of place once they were sanded back, and I ended up with a level surface to paint.
First, anti-rust primer. This, in theory, should stop the rust from returning too quickly. I wrapped up the bits I did not want to paint in a huge plastic dust sheet with liberal applications of masking tape, returned to my spot on the bonnet and rocked back and forth with the spray can until I had an even coverage. This was something I am familiar with from my painting days, and I was pleased with the result.
Next came the Oslo Blue spray can. After leaving the primer to dry for around ten minutes or so, I did my first coat, followed by another ten minutes later. The last was a top coat which should protect the work from the weather.