

Roving with Debbie
This month its all about the Swivels.
October 2026
There is nothing like going to a show and seeing lots of pretty Land Rovers to get you motivated for finishing yours. Or at least working on it with the aim of getting closer to that aim. I am no different. Belvoir Show certainly felt like the kick in the butt I needed to get going again. So, the weekend after the show, I hit the garage tent and resumed the strip down of Harriet. Admittedly, there is not a great deal left to take off, and all of the bits are large.
I thought I would start with the simple task of removing the bumper. Simple, quick and easy are words that should never be applied when working on Land Rovers. Silly me. When Harriet had her winch fitted, the previous owner had to weld in a bracket in front of the engine crossmember to support it. Unfortunately, a welding mishap took place, and the bumper had been welded to the chassis. The bolts securing it in place were also very thin and snapped too. The weld was not very big, so a couple of attempts with the grinder solved that problem. The bumper then came off with some gentle persuasion with a lump hammer.
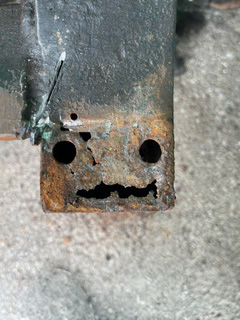
Left – Is it me or does Harriet’s Chassis look really scared?
Next, the front axle had to come off. It had been leaking from the swivel seals, so I wanted to get it off and inspect it before rebuilding it with new seals. I’d already removed the steering components from the front axle as well as the dampers. The leaf springs were ready to be dropped, which was the only part now securing axle to the chassis.
I knew I would need assistance with getting the axle off the car and up onto the bench as it would be heavy. One try was enough to know that I was not going to be able to support or lift the axle, even with Spare Dave helping on the other side.
Right – Axle removed so renovation can continue!

Instead of struggle, we employed the use of an engine crane and a ratchet strap. It took a bit of finessing, but we managed to get the axle onto the bench with no damage. Once the axle was stable, I was able to have a proper look at it. Using some degreaser, I started to get rid of the waxoyl and crud that had stuck to it. I anticipated needing new swivel ball housing; however I have since been reliably informed that they look almost new.
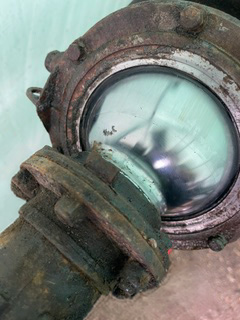
Left – Debbie fell lucky with the Swivel housings! They look in great condition!
The next job will be taking the axle apart to inspect the driveshaft and replace all the seals and oil. It did feel like a good step forward though, and I cannot complain about that.