Keeping Larry’s Cool
This month Debbie focuses on Larry and his cooling system
Words and Picture by Debbie Forster
As most of us are well aware, owning an older vehicles comes with its own unique challenges. Not only is there an everlasting battle against the persistent tin worms, but parts age and corrode in their own special ways.
Recently, my focus turned to my radiator. The fins were looking worse for wear, and there was some interesting looking bugs and mud along the bottom. Now, I am very aware that the Td5 engine is known for the air hoses collapsing as they age as well, and it would be a shame to have to disconnect everything just to replace the intercooler at a later date, so I decided to do that at the same time.
After draining the coolant and disconnecting the hoses, I had a fight with several bolts. I think at this point I should take out shares with WD40. Gentle taps, turning the bolt so it went off a bit, then on again had most of them loosen eventually. Aside from two, which sheered off. Fortunately, they were not in critical locations, so it wasn’t a complete disaster.
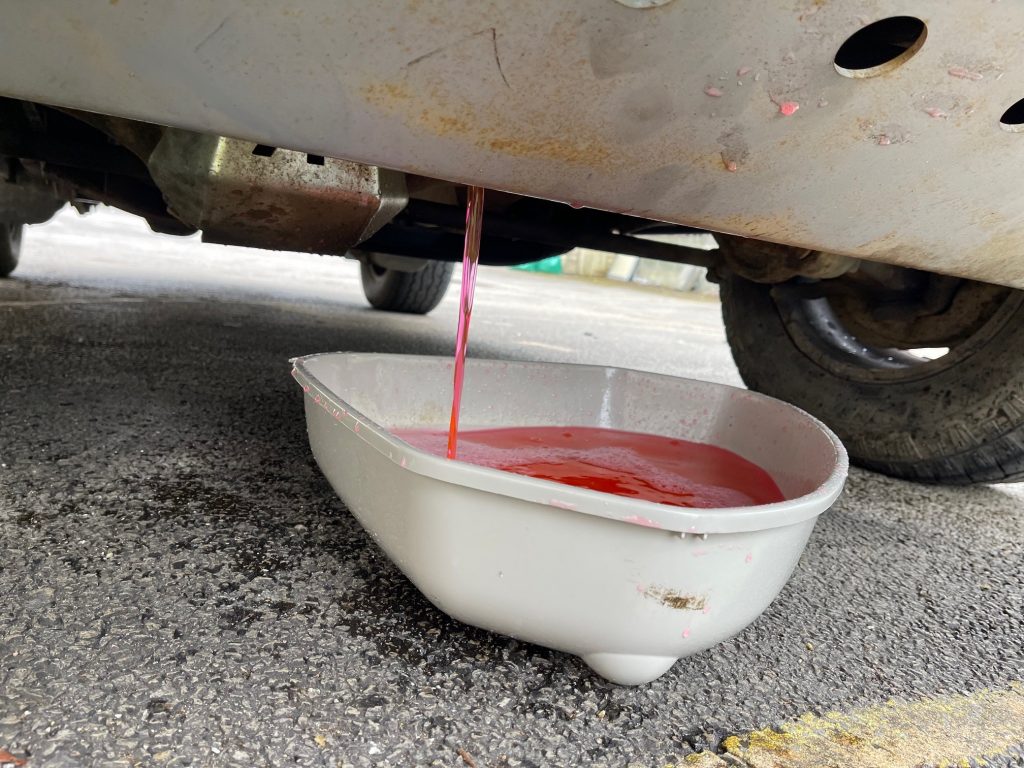
Above – First job, drain the coolant!
After draining the coolant and disconnecting the hoses, I had a fight with several bolts. I think at this point I should take out shares with WD40. Gentle taps, turning the bolt so it went off a bit, then on again had most of them loosen eventually. Aside from two, which sheered off. Fortunately, they were not in critical locations, so it wasn’t a complete disaster.
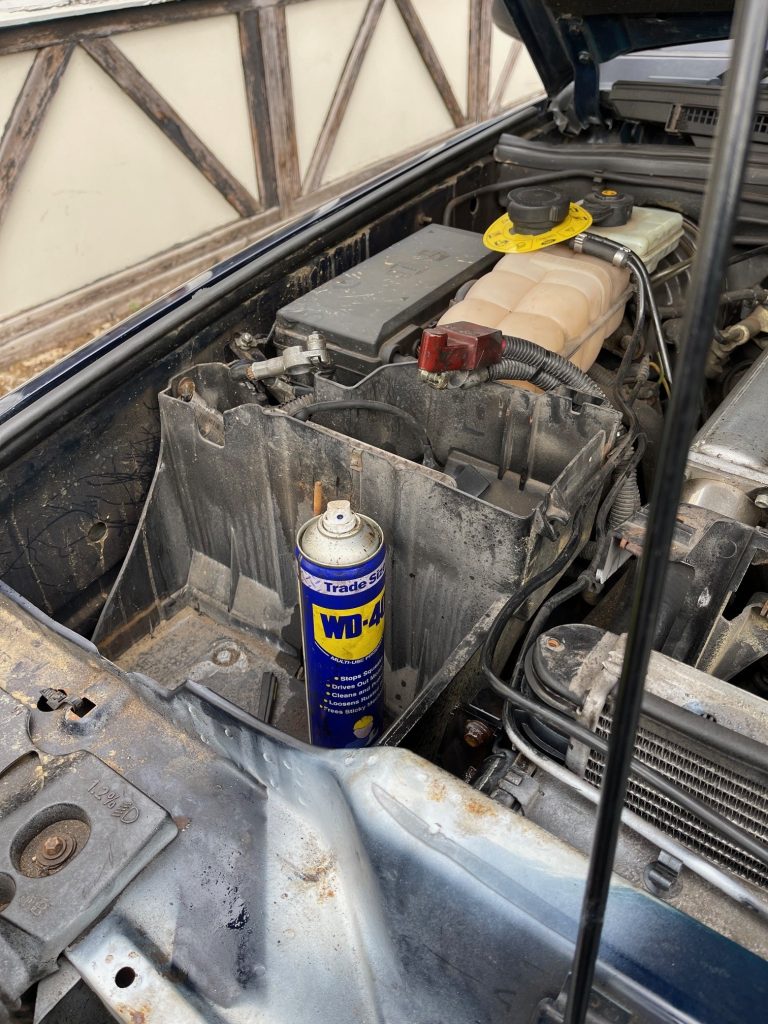
One problem that I did encounter was oil creeping past the O ring seal for the injector loom, down the wiring and into the red plug which connects to the ECU. Luckily, I caught this early. The injector loom was last replaced in 2017, so it is due for a new one – that is a job for another time, as well as fixing up an injector which is a bit too rattly for my liking. I did clean up the oil, the red plug and the ECU and set those aside for later.
Below – Debbie starts to consider investing in WD40, follow her for more buying tips.
With a bit of wrangling, the radiator and intercooler lifted out of the bracket. The damage wasn’t as bad as I thought – the air conditioning condenser is, but that’s yet another job for another time. I was also able to inspect the top of the front chassis rails and cross member. Both had the mandatory surface rust, but after a good wire brush, I was able to treat these areas well.
When the entire front cavity had been cleared of mud and gunk, it was time to put the new parts in! This was shockingly easy – the same as taking the bits off but in reverse. The new pipes, though a little bit of a pain, eventually went on too.
The first problem arose when I went to find the drain plug for underneath. I had put it in a safe place… To this day, I do not know where that is.
So, I ordered a new one. When that was in place, I went to fill up the coolant tank, following the procedure set out in the workshop manual. Larry responded by dumping the fresh, new coolant onto the yard. It turns out that another pipe had been left off, so there was a hole in the system. This pipe had been put in the same place as the drain plug. A quick trip to Maltings 4×4 had me sorted right out though, and as soon as the pipe was on, I was able to fill the coolant tank up. This time, there were no leaks.
I learned a fair bit while undertaking this task. The top one being don’t lose essential parts by putting them in a safe place. The other is take a lot of pictures. I also discovered that the EGR valve on Larry has already been removed – which saves me a job in the future. Thanks previous owner for sorting that out for me.
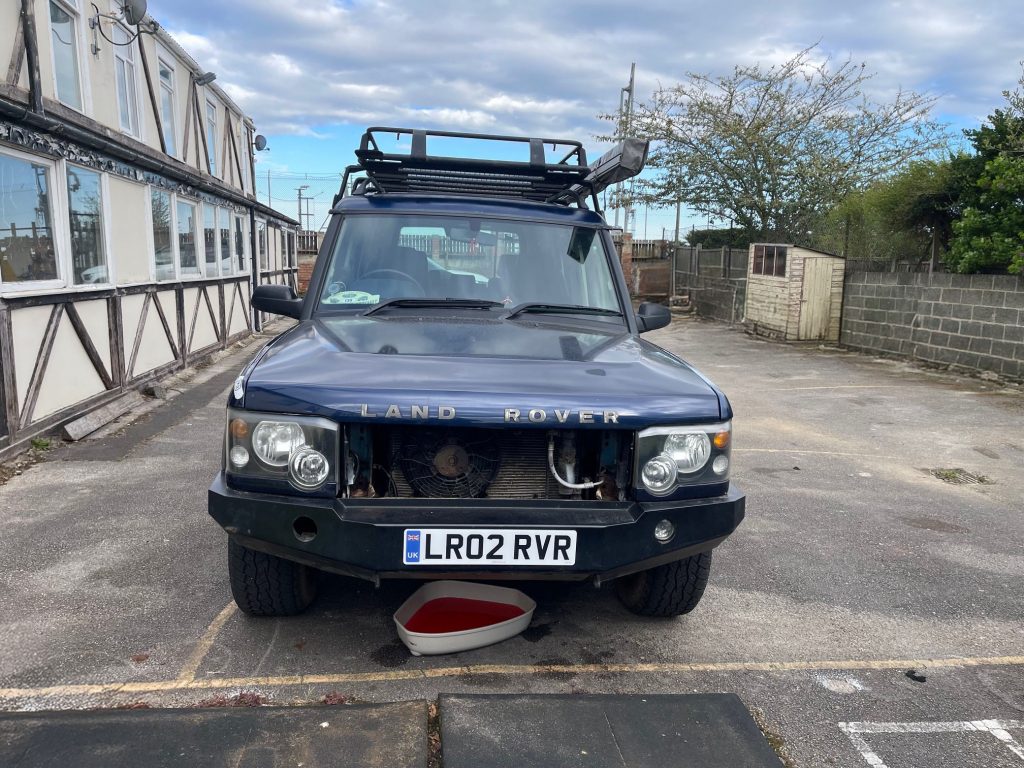
Above – If you see her drain plug anywhere, please let Debbie know.
For now, I am going to enjoy the lower tone the engine makes now that the intercooler has been uprated and I have no doubt Larry will like the new radiator and cooling pipes too. Now, let’s start thinking about that injector harness…